

WP Smart Contracts WordPress plugin is a versatile platform, allowing you to build and customize websites to your heart’s content. Whether you’re showcasing an NFT Collection, an staking platform, or running a crowdfunding campaign, there may come a time when you want to make some style and structure changes. In this tutorial, we’ll take you through two customization tasks: changing CSS styles and modifying HTML structures. Fear not, as we’ll keep it straightforward and approachable.
Part 1: CSS Style Changes
Difficulty Level: Easy
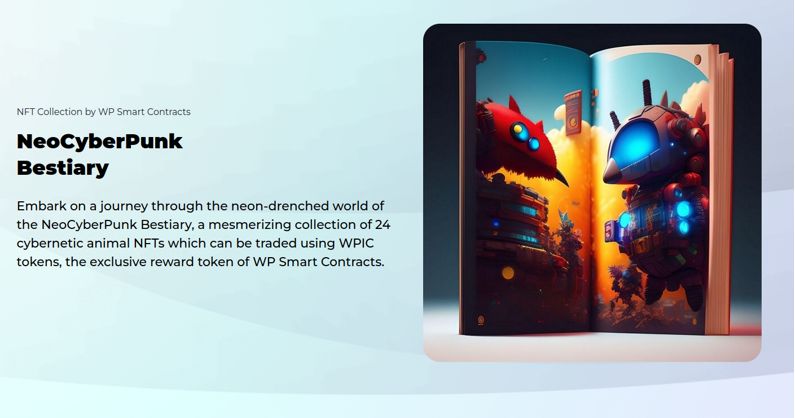
Imagine you’ve set up your WordPress website to display your NFT Collections and smart contracts, but the default background just doesn’t match your aesthetic. You want to add a snazzy gradient background, and we’re here to show you how to do it.
Example:
Before:
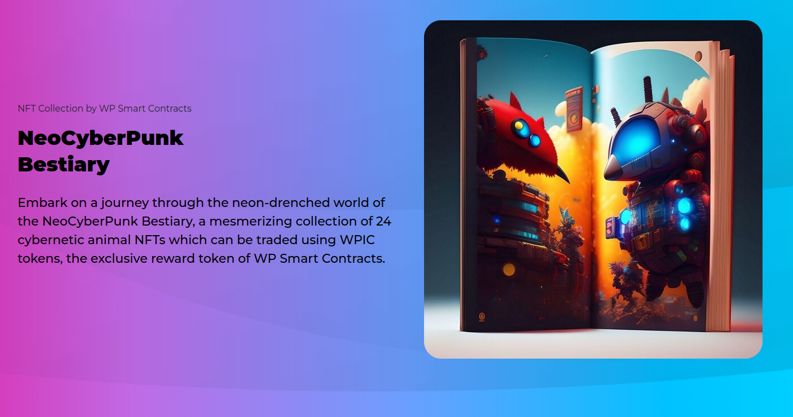
After:
Step 1: Access the WordPress Customizer

1. Log in to your WordPress admin area.
2. Navigate to “Appearance” in the left sidebar, then click on “Customize.”
Step 2: Add Custom CSS
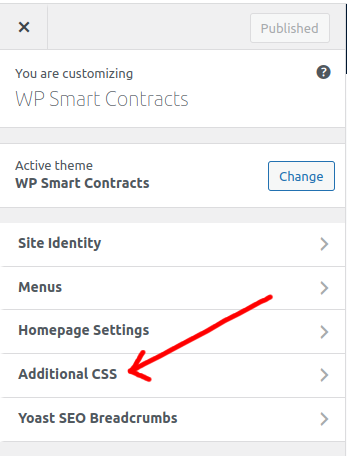
1. In the Customizer, look for “Additional CSS” in the left-hand menu.
2. Click on it to open the CSS editor.
Step 3: Customize the Background
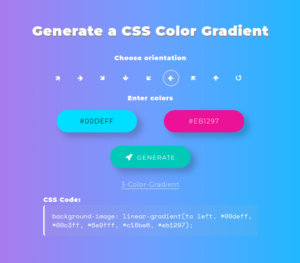
We obtained a visually pleasing gradient CSS code by using the tool MyColor.Space Gradient and making some adjustments to the parameters.
Now, you’ll:
- Copy the CSS code
- Add it as a body tag
- Paste the resulting CSS code to achieve that stylish gradient background
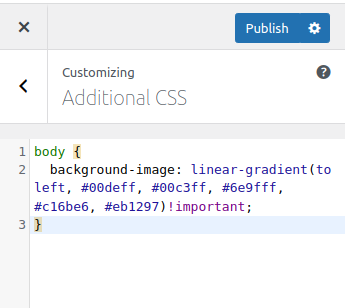
Example:
body {
    background-image: linear-gradient(to left, #00deff, #00c3ff, #6e9fff, #c16be6, #eb1297)!important;
}
Please observe that we’ve designated the background image gradient as ‘important’.
Step 4: Save and Publish
Once you’ve added the CSS, hit the “Publish” button in the top-left corner of the Customizer. Your changes are now live on your website!
Part 2: HTML Structure Changes
Difficulty Level: Medium
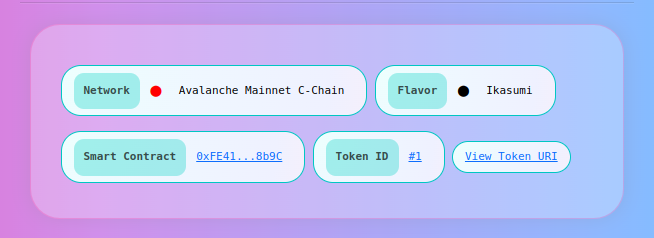
Now, let’s dive into modifying the HTML structure of your WordPress site. Imagine you want to make some changes to your NFT item section. You want to remove the flavor information in the NFT item section and add a copyright disclaimer. While this task is a bit more advanced, we’ll take you through it step by step.
Before:
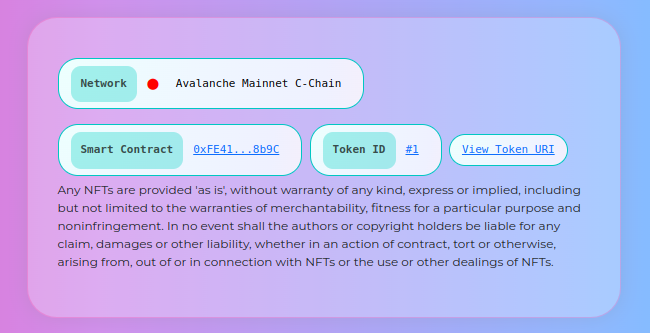
After:
Step 1: Inspect the HTML
To make these changes, we need to understand the HTML structure. We’ll inspect the page using our web browser’s developer tools.
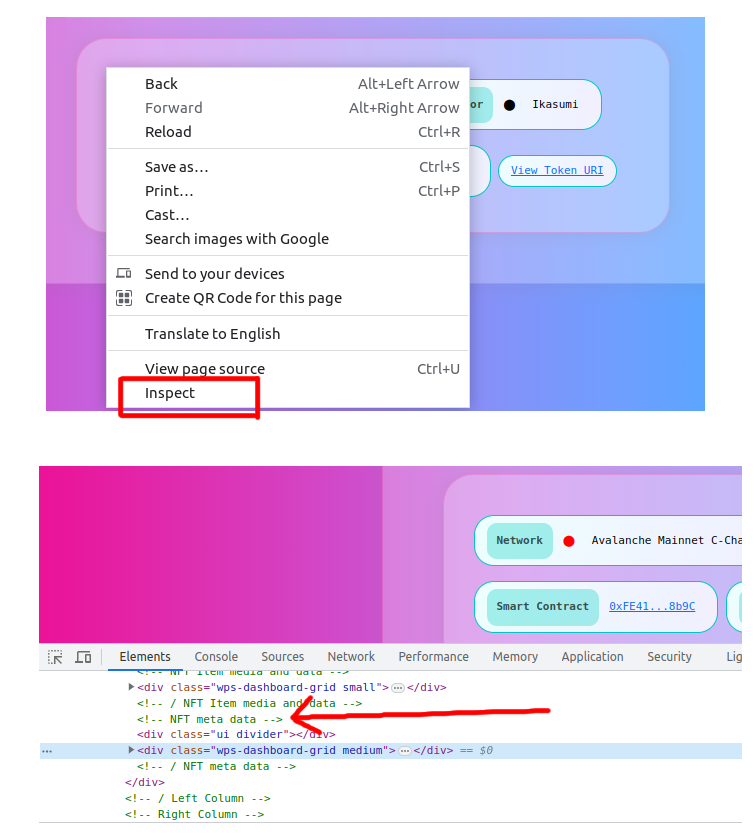
1. Right-click on the section you want to change, in this example, we’ll use a comment:
<!-- NFT meta data -->
This comment will help us identify what is the template we need to change.
Step 2: Locate the Relevant Code
Now, let’s find where this code is in your WordPress plugin’s files. We’ll search for the string in the code repository.
Head to your plugin’s code repository.
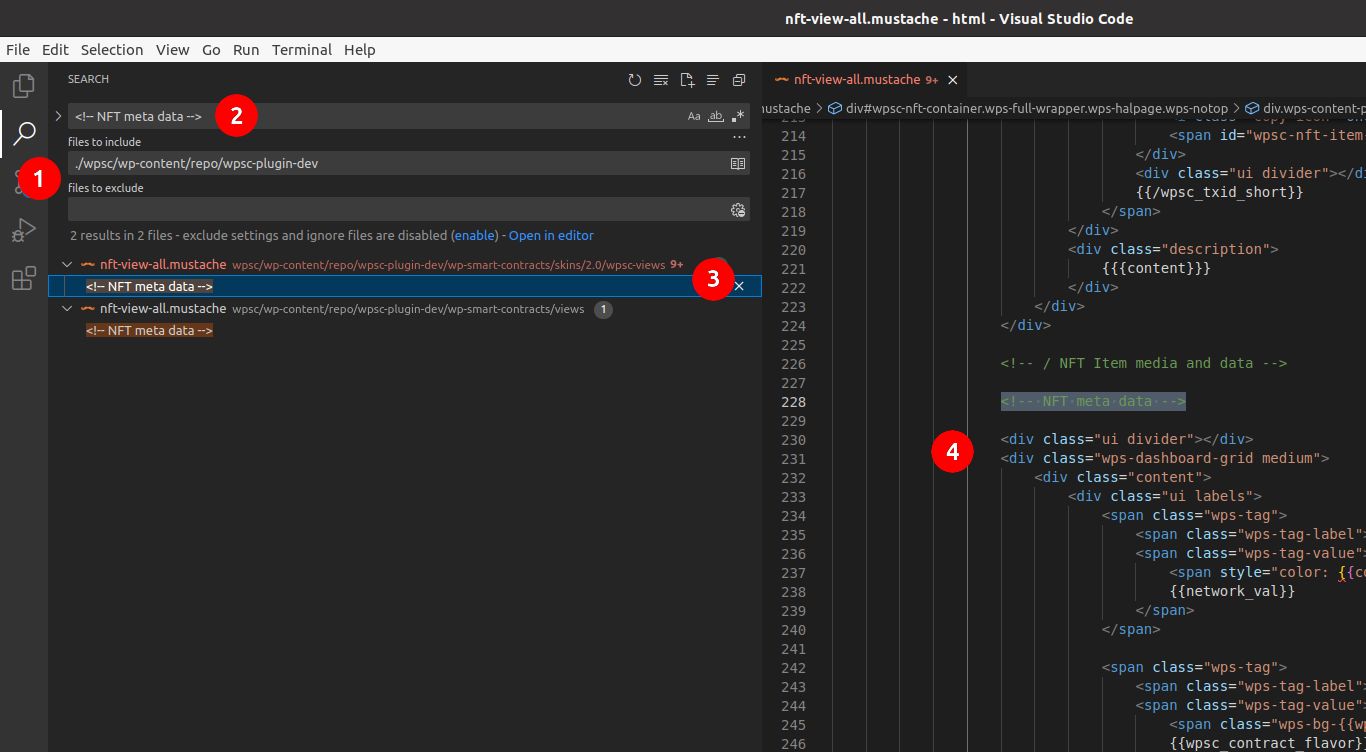
1. In your favorite Code Editor, use the “Search Tool”
2. Search for the string: “<!– NFT meta data –>”
3. We’ve identified the string in two files: one located in the ‘views’ folder and the other in ‘skins/2.0/wpsc-views/’. We will use the latter file, ‘nft-view-all.mustache’, as we are using Skin 2.0.
4. In this file we can see the HTML section we want to change
Step 3: Customize the Template
Make a copy of the appropriate file for your theme (in our case, `nft-view-all.mustache` in the “skins/2.0/wpsc-views/” folder).
Now, you can make your changes:
1. Remove the section related to the flavor.
2. Add your NFT disclaimer using HTML:
<p style="font-size: 12px">
    Any NFTs are provided 'as is', without warranty of any kind, express or implied, including but not limited to the warranties of merchantability, fitness for a particular purpose and noninfringement. In no event shall the authors or copyright holders be liable for any claim, damages or other liability, whether in an action of contract, tort or otherwise, arising from, out of or in connection with NFTs or the use or other dealings of NFTs.
</p>
Example:

Step 4: Update the Template
Don’t replace the plugin files, as they’ll be overwritten during updates. Instead, create a folder named “wpsc-views” in your theme folder.
To simplify this process, we will use the WP File Manager plugin, which facilitates the file uploads to your WordPress installation. Follow these steps:
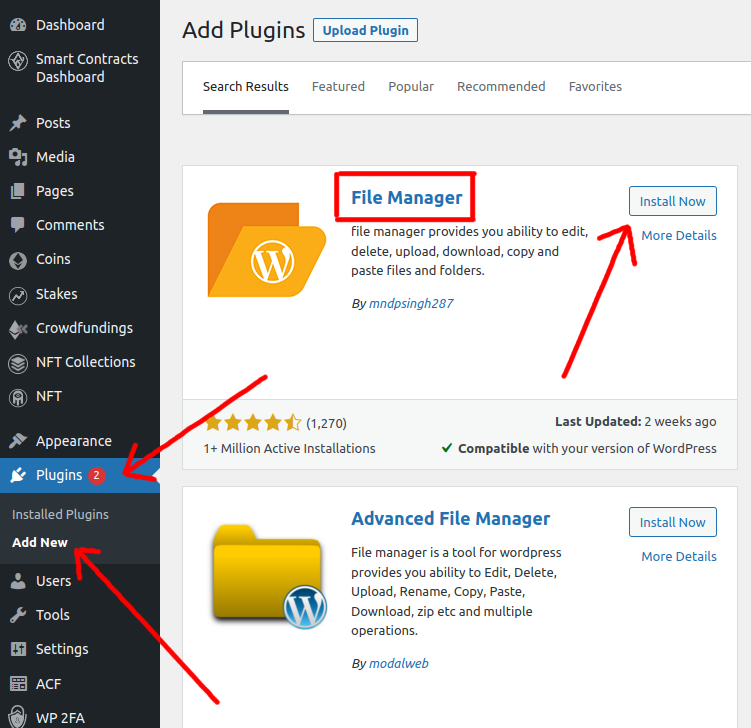
1. Install the WP File Manager Plugin.
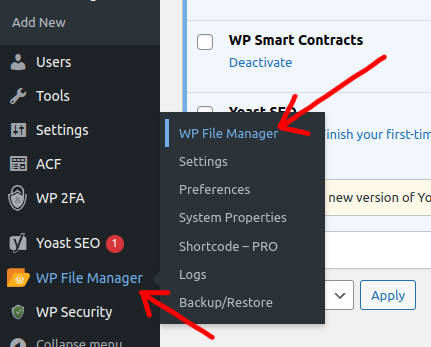
2. Open the WP File Manager plugin
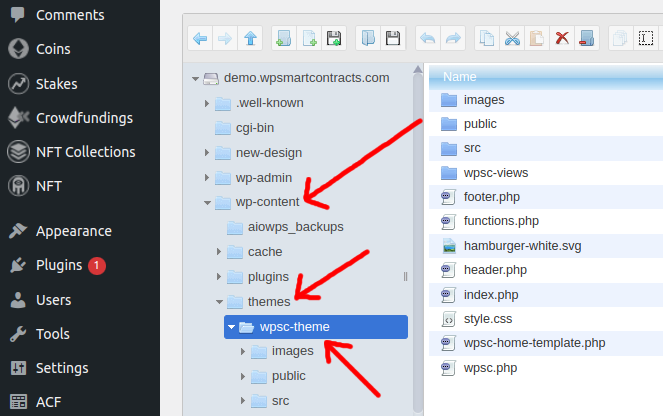
3. Navigate to your theme directory within the ‘wp-content’ folder, in our case the WP Theme is called “wpsc-theme”
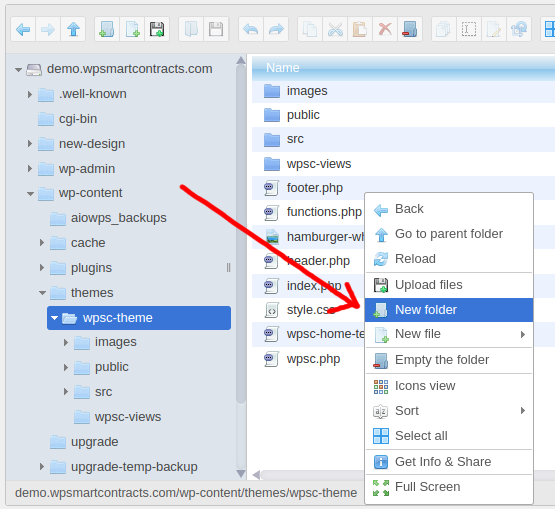
4. Create a new folder named ‘wpsc-views’ inside your theme folder.

5. Place the modified ‘mustache’ file into this newly created folder. For this, click on the recently created “wpsc-views” folder and then click “Upload files” from there

6. Select the mustache file that you modified in the previuos step and finish the upload.
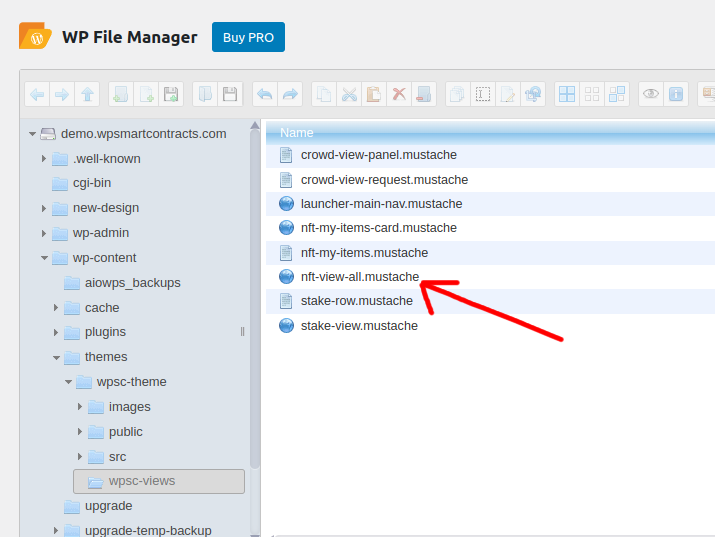
7. Confirm that your file was properly uploaded to the “wpsc-views” folder
As depicted in the image above, you’ll notice multiple mustache files within the ‘wpsc-views’ folder. You can apply these steps to customize any HTML section of your site by uploading the respective individual mustache files.
Voila! Your NFT view has changed without risking plugin file overwrites.
Conclusion
Customizing your WP Smart Contracts plugin doesn’t have to be a daunting task. In this tutorial, we’ve covered two essential customization tasks: CSS style changes and HTML structure modifications. Whether you’re sprucing up your site’s look or making structural adjustments, these steps will empower you to tailor your WordPress site to your needs.
So, go ahead, experiment with your site’s style and structure, and create a web presence that’s uniquely yours. Happy customizing!